This is specifically for installing a Medlin Drone Whoop FPV Gimbal. There are Kits and Pre-Builts available at the Medlin Drone Store!
Setup and Configuration:
First, you will need to do the Configuration and Setup for Adding a FPV Gimbal to a Multirotor and be ready to plug in the servo.
Install Gimbal:
The kits come pre-assembled from the store, so I do not cover assembly steps as they are not needed unless you DIY, in which case reference the pictures bellow.
You may or may not need to extend your camera wires. Camera extension cables available at the Medlin Drone Store.
I recommend using a female servo plug, like the one provided in the Medlin Drone Whoop FPV Gimbal kit, to solder to the FC so that you can replace the servo without soldering. These tiny servos can wear out over time/use so consider getting extra if planning to fly frequently.
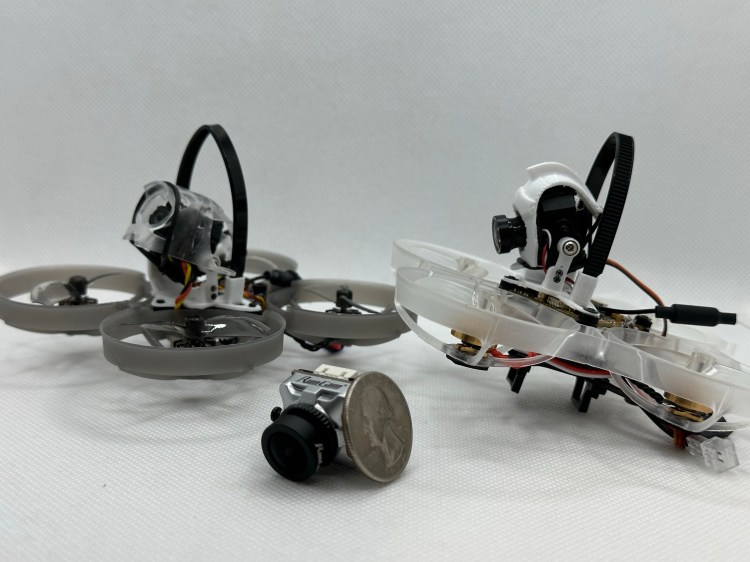
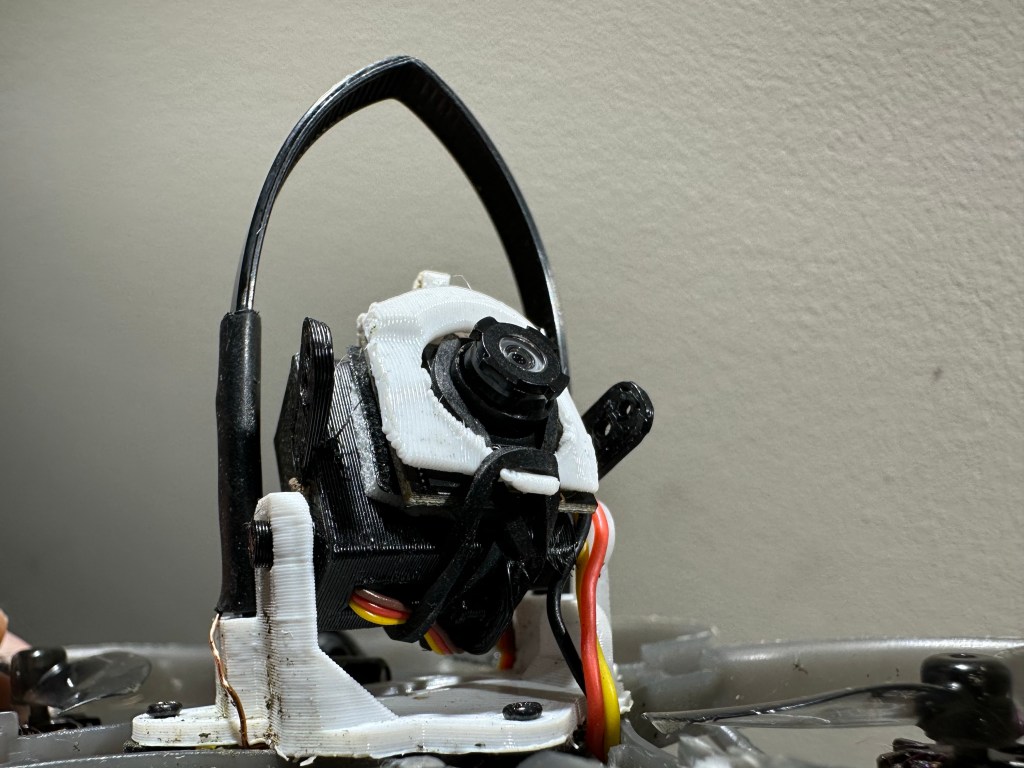
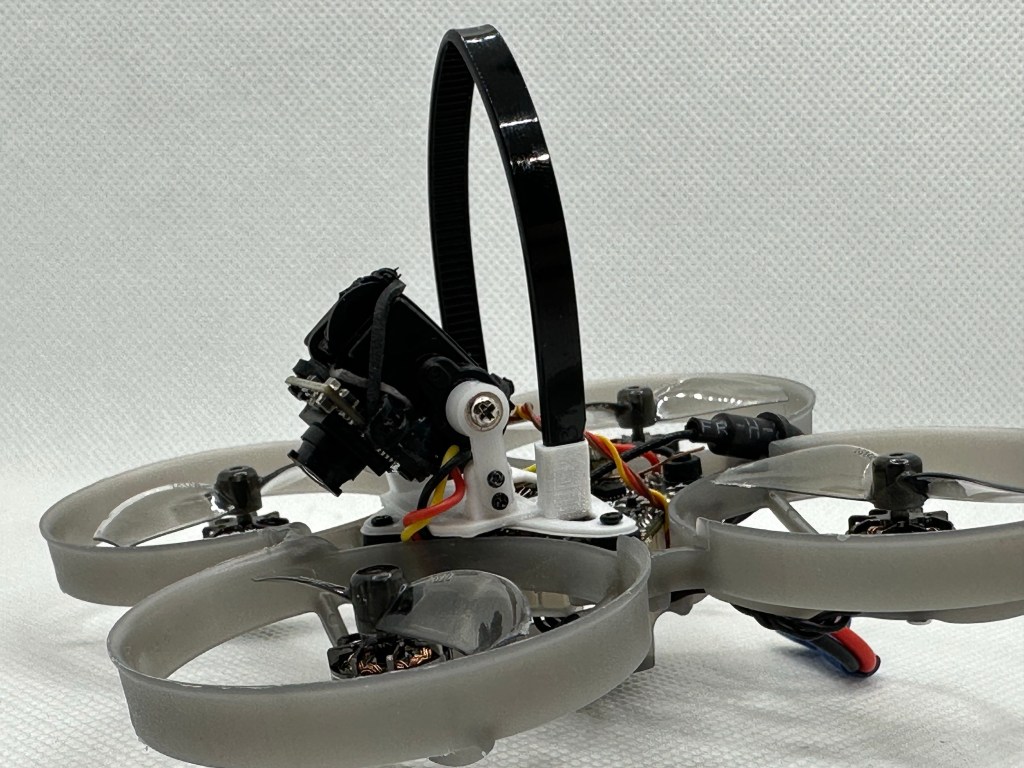
The gimbal mounts to the standard whoop board, on top of the FC.
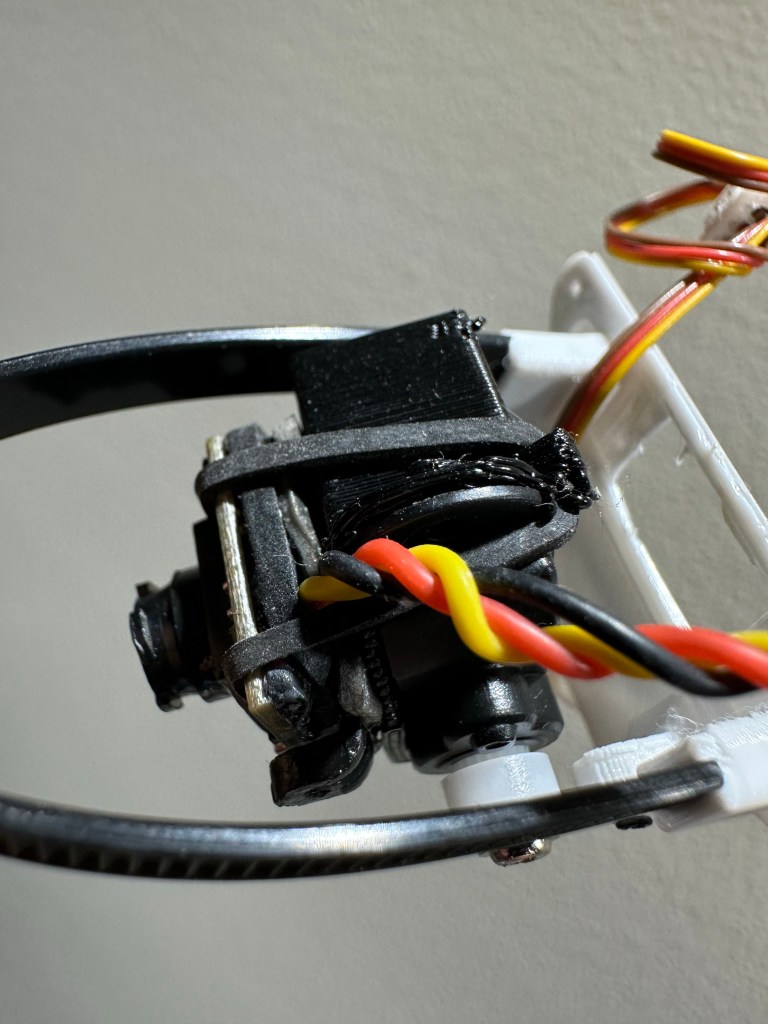
Once the gimbal is physically installed, simply connect/plug in the servo and install your FPV camera into the gimbal. Check that your FPV camera wires reach the camera, aren’t being pulled on when the gimbal rotates, and aren’t interfering with the propellers.
The camera can be installed a few different ways, that can be used together or independently: double sided tape, 14-19mm wide screw mounting tabs, an elastic band via the vertical tabs in the back, and twist ties, reference the pictures bellow for camera mounting.
If the servo isn’t moving, try moving the input signal for the servo to both ends of travel. This is where having control of the channel via a slider/dial is useful, as described in the tutorial for adding a head tracker to your setup. You can have a switch change the control of the channel from a dial/slider to a head tracker or other source.
If you have all those steps complete, you’re done!
Here is my guide for your First Flights with a FPV Gimbal!
To adjust the range of motion of the gimbal, remove the larger screw from the servo horn, pull the servo horn off of the servo splines, shift to desired position, and insert back onto the servo splines and reinstall screw.
If needed, superglue works great for repairs.


3 thoughts on “Install Whoop FPV Gimbal”